Events / POPRICA
Create an event check-in notice
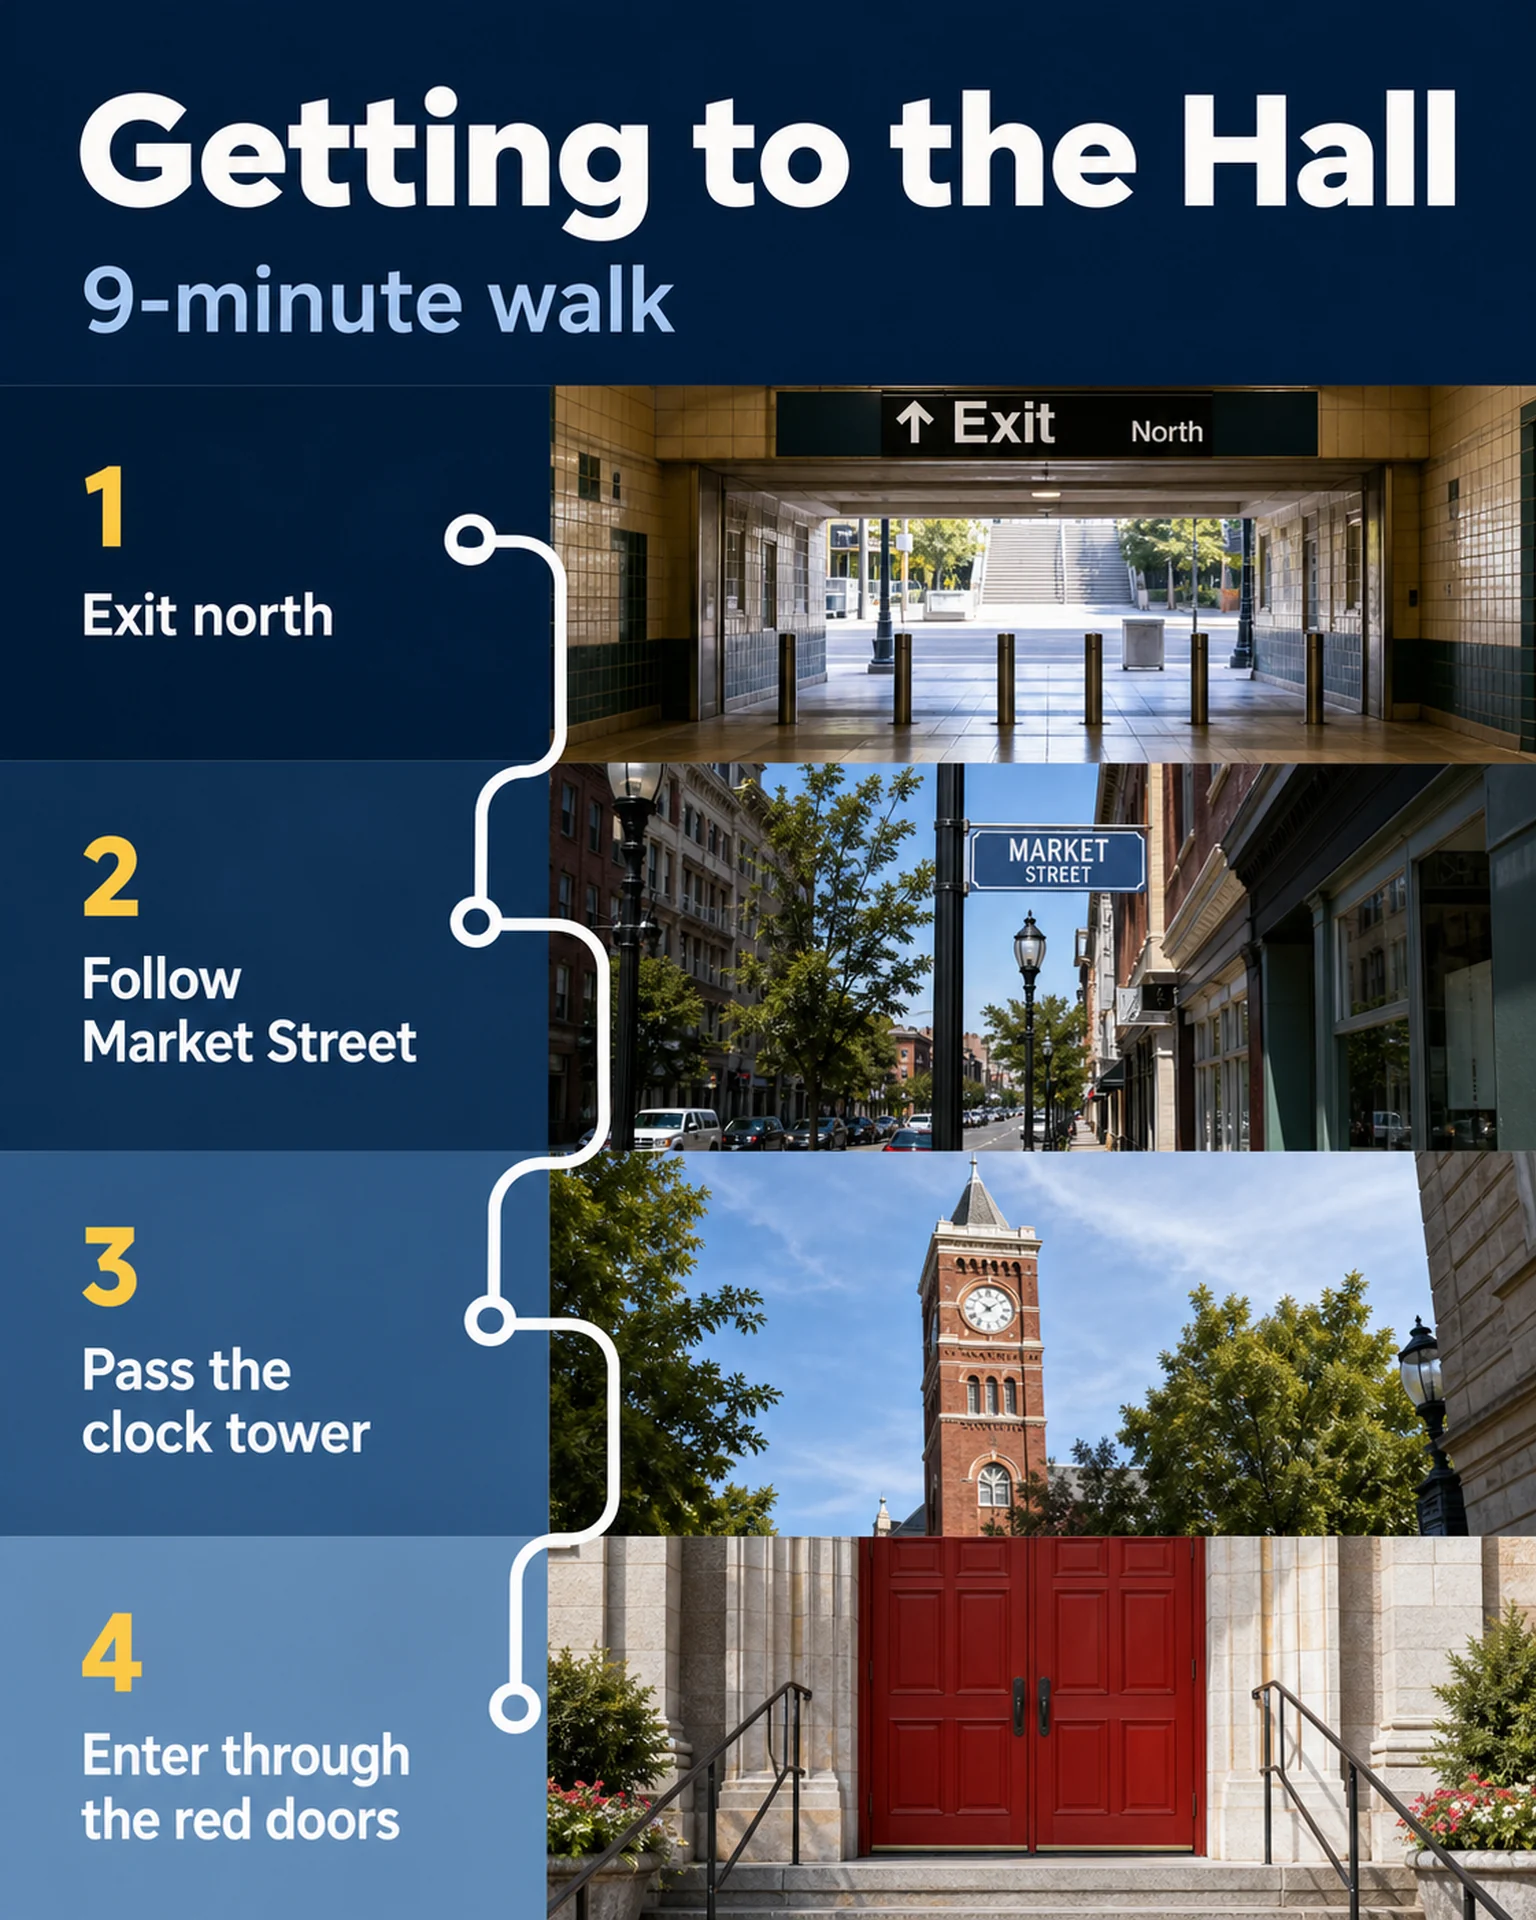
Explain where check-in happens, when it opens and what attendees need to show. Adapt the numbered structure of a Poprica venue-access reference into your actual reception procedure.
After sign-in, your selected template continues to the creation screen. Review the coin requirement and conditions before generating.
The template guides the visual direction. Poprica generates a new image from your photo and information; it does not simply replace text in the sample image. The result may differ from the reference.
Prepare the source information
- 01A photograph of the real check-in area.
- 02Check-in opening time and required ticket or confirmation.
- 03Organizer-approved steps and a help point.
From brief to reviewed output
- 1
Write the reception sequence as it is actually operated.
- 2
Replace the route-reference photographs and directions with check-in steps.
- 3
Review it before the queue so attendees can prepare what they need.
What to learn from this reference
The original template shows directions to a venue. Its numbered structure is reusable; it is not a completed check-in example.
Browse templates for this use caseCheck before you publish
- Distinguish check-in opening from admission time.
- Do not describe the image as an authentication or payment system.
Questions before you start
Should I ask image generation to create a QR code?
Do not rely on this guide to generate a functional code. Use the organizer’s verified check-in method.
Related creation guides
Start with your own photo and approved facts.
Choose the reference, supply your photo and copy, and generate a new design for your specific task.
Poprica editorial team / Reviewed:
このガイドを日本語で読む